Discover EverTune
EverTune Buying Guide
- Bridge Buying Guide
- Guitar Buying Guide
- Most Asked Bridge Questions
- Bridge Tech Specs
- Tunings & String Gauges
- String Tension Gauge Calculator
- Installation Service Options
- International Dealer Directory
- Legal
For Players
- User Manual
- Quick Start Guide
- Tunings & String Gauges
- String Tension Gauge Calculator
- Maintenance
- Troubleshooting
- Repairs
- Legal
For Installers
- Instructions / Drawings / CAD For Bridge Installation
- Routing + Installation Videos
- Become An Installer
New Products
Maintenance
- 331.1What Maintenance Is Required?
- 331.2How to Remove and Re-Install the Bridge
- 331.21F & T Model
- 331.22G Model
- 331.3How to Install a New Saddle
- 331.31Servicing the Bridge
- 331.32Updated Comb Install
- 331.33How to Install the Side Spring Clip
- 331.4How do I Order Replacement Parts?
- 331.5What Are The Extra Parts With The Bridge?
- 331.6Are There Longer Action Screws For Lower Action?
What Maintenance Is Required?
There is zero maintenance required with an EverTune bridge.
The bridge does come with some thick black damping grease installed on the bottom of each saddle near where the string goes through the back of the guitar. This damping grease is to prevent buzzing from the vibration of the free floating saddle. This grease should never be removed. It is almost impossible to reapply once the saddle is assembled.
User Error & Accidents
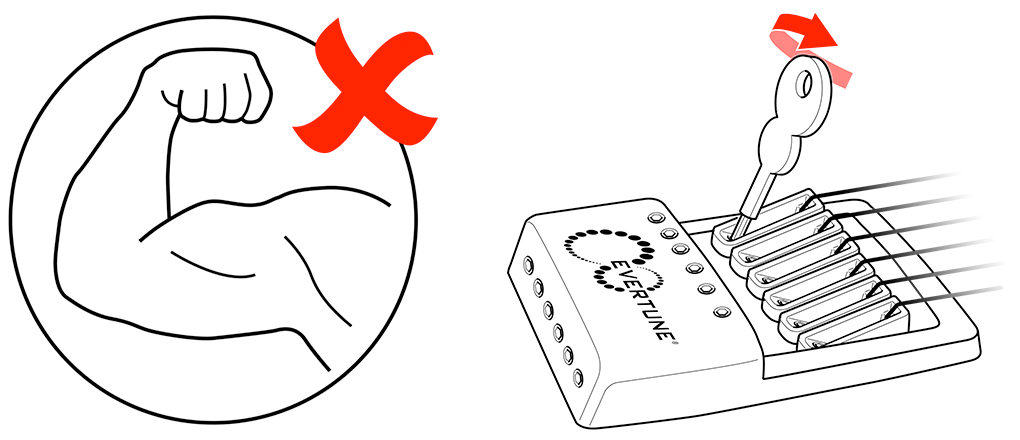
If a saddle breaks for some reason (like someone overturns the hex key once it stops at the tuning limit and thus breaks the tuning screw) swapping out a new saddle is straightforward.
The first two videos below show the removal of both types of bridge. The following two videos demonstrate how to install a new saddle or comb.
How to Remove and Re-Install the Bridge
Required Tools:
Standard Phillips head screwdriver
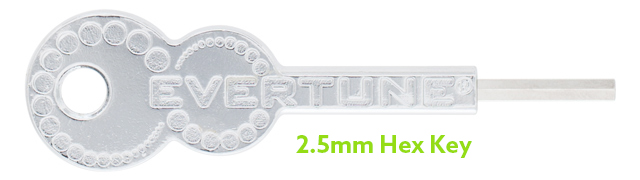
Standard 2.5mm hex head screwdriver
String unwinder and cutter (very convenient, although optional)
Additional Notes:
The T model is identical to the F model except that the bridge pick up will have to be removed as well. The G model also requires a standard flat head screwdriver.
Warning! The comb that holds the EverTune's saddle modules in place is made of thin sheet metal and has several jagged edges. Please use care when installing, removing, or touching the comb, as its sharp edges can cut through skin.
-
F Model removal and reinstallation
-
G Model removal and reinstallation
How to Install a New Saddle
Swapping out a new saddle is straightforward.
The first video below goes over the main parts components, the main reasons a bridge will need servicing, how to disassemble, service, and re-assemble a bridge. The second covers how to install a new comb when it arrives.
The tool used to push the teeth into place is a small flathead screwdriver. Please note that all the pairs of teeth of the comb face one way except for the last pair which faces the opposite way. This last pair slips onto the low E side of the bridge before pushing the other teeth into place (as in video). Please remember when looking at the guitar from the back it is easy to confuse the low E side because it seems reversed.
-
Servicing the Bridge
Shown is the F model bridge. The only difference between the F, T and G models is the faceplate.
-
Updated Comb Install
For the F and T models, the new comb can be installed while the bridge is in the guitar. For the G model, the bridge will have to be removed from the guitar.
How to Install the Side Spring Clip
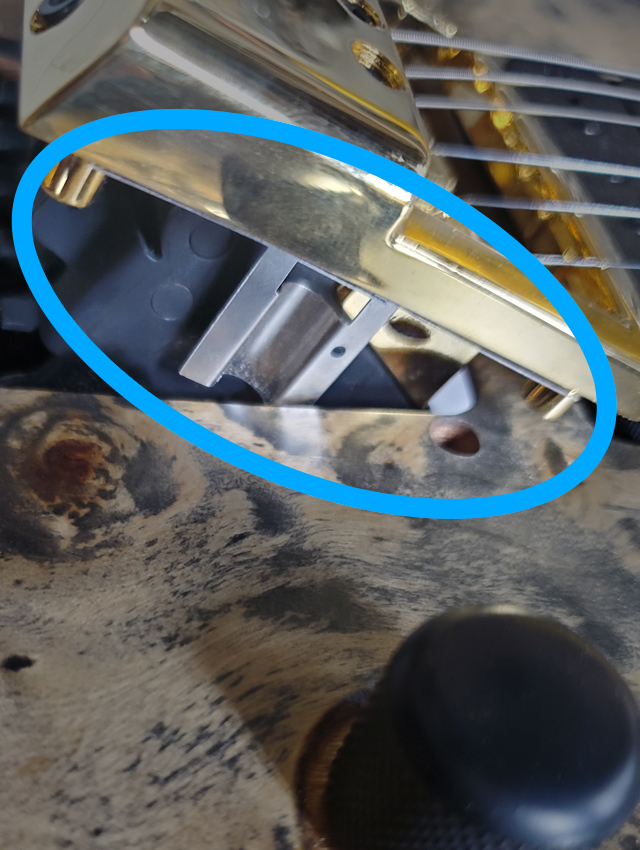
If required, the side spring clip goes under the faceplate between the two mounting lugs on the high E side.
When installing the bridge it compresses against the rout and the high E module. Since the bridge is now pressed from both sides (the tab on the low E side and this spring clip on the high E side) it should be impossible to have space between saddles. This should correct any saddle to saddle buzzing caused by minute space between saddles.
Warning! The comb that holds the EverTune's saddle modules in place is made of thin sheet metal and has several jagged edges. Please use care when installing, removing, or touching the comb, as its sharp edges can cut through skin.
-

Side Spring Clip sits under the faceplate.
-
Side Spring Clip installed on the high E side.
How do I Order Replacement Parts?
Replacement parts are available here.
We guarantee availability of replacement parts for 5 years after any version is obsoleted.
We will try to make it longer if possible.
What Are The Extra Parts That Come With The Bridge?
Every new EverTune guitar and EverTune bridge should come with a service pack.
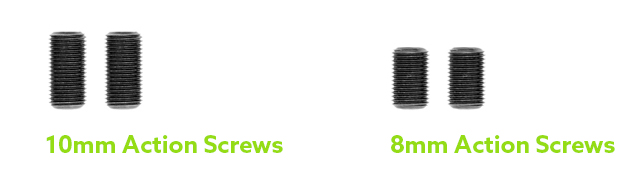
This includes an EverTune hex key, an extra set of action screws and a printed Owners Manual.
If the installed set of action screws is 8mm then the service pack will have 10mm screws; if the installed set is 10mm then the service pack will have 8mm screws.
Are There Longer Action Screws For Even Lower Action?
Yes we do have custom longer action screws.
The screws that come with the guitar are 8mm and 10mm long screws. We also have for sale in our parts store 13mm and 16mm long action screws.
